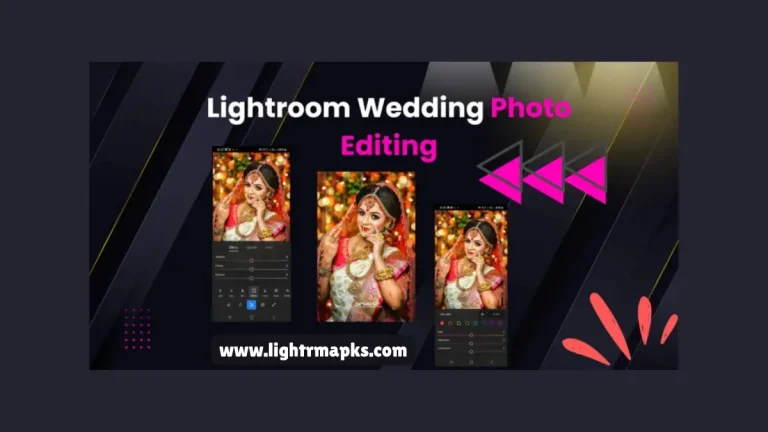
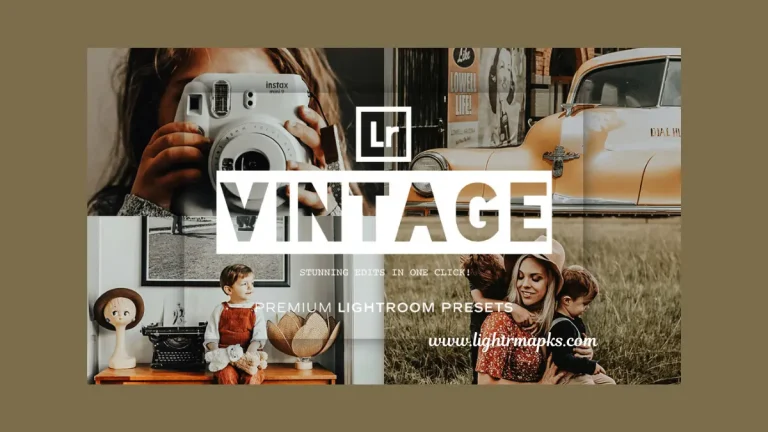
How Can We Create the Lightroom Vintage Presets? 2025
Editing photos has become a fun and creative part of photography. Many people today do not just want to take pictures. They want to give them a unique style. One popular editing style is the vintage look, which makes photos appear old-fashioned, soft, and warm. This style brings a sense of reflection and charm, reminding us of photos taken with film cameras. Using Lightroom, a powerful photo editing app, we can easily create this effect by making our own vintage presets.
Instead of buying or downloading presets made by others, you can create your own vintage preset in just a few simple steps. This saves you money and gives you full control over the look and feel of your images. Whether you are a beginner or someone who loves editing, learning how to make your own presets will help you build a unique editing style.
What is a Lightroom Preset?
A Lightroom preset is like a filter or editing recipe that you can apply to your photos with one click. It adjusts different settings like brightness, contrast, color tone, and more.
Instead of editing each photo manually, a preset helps you save time by applying the same effect to multiple photos. When you create your own preset, you have full control over how your pictures will look.
What Makes a Photo Look Vintage?
The vintage style reminds us of old photographs from film cameras. This effect can be soft, faded, warm, or even slightly grainy. Here are some common features of a vintage photo;
- Muted colors
- Faded black or shadows
- Warm tones like orange and brown
- Grainy texture
- Low contrast and low saturation
- Soft or pastel highlights
Step-by-Step Guide to Creating Vintage Lightroom Presets
1: Open Lightroom & Select a Photo
You must start by opening Adobe Lightroom on your desktop or mobile device. Choose a photo that you want to use as a base for your preset. It is best to select a simple, clear photo so you can easily see the effects of the edits.
2: Go to the Edit Panel
Once your photo is open, go to the Edit panel. This is where all the magic happens. You will see options like Light, Color, Effects, and Detail. You will adjust each of these settings to build the vintage style.
3: Adjust Light Settings
Vintage photos often have soft lighting and low contrast. Make the following changes in the Light section:
- Exposure: Slightly increase (+0.20 to +0.40) to brighten the image.
- Contrast: Lower it (-20 to -40) to give a soft look.
- Highlights: Decrease (-30 to 50) to keep light areas soft.
- Shadows: Increase (+20 to +40) to lighten dark areas.
- Whites: Decrease (-20 to -30) to reduce brightness in the highlights.
- Blacks: Increase (+10 to +30) to fade the black parts.
4: Adjust the Color
Now, go to the Color section to change the temperature and tint of your image.
- Temperature: Move to the warmer side (+5 to +15) to add a yellow tone.
- Tint: Slightly towards magenta (+5 to +10) for a retro touch.
- Vibrance: Lower (-10 to -30) to make colors less strong.
- Saturation: Lower (-10 to -20) to keep things soft and faded.
Next, go to the Color Mixer (HSL) to adjust individual colors. In vintage photos:
- Reds and Oranges: Slightly increase saturation to enhance skin tones.
- Yellows and Greens: Desaturate to mute green grass or trees.
- Blues: Lower luminance for a faded sky look.
5: Add a Faded Look with the Tone Curve
This is one of the most important steps. Go to the Tone Curve tool.
- Click on the curve and lift the black point (left end) slightly upward to fade the darks.
- Slightly lower the highlight point (right end) to soften the whites.
- Add gentle curve points in the middle for better balance.
6: Add Grain & Effects
To make your photo look more like it came from a film camera, go to the Effects panel.
- Texture: Reduce slightly (- 10 to -15) to smooth out harsh details.
- Clarity: Lower slightly (- 10 to -20) to soften the photo.
- Dehaze: Also reduce slightly (-5 to -10) to create a misty or dreamy effect.
- Vignette: Add a light darkening around the corners (- 10 to -20) for focus.
- Grain: Add grain (15 to 30) for that classic film feel. You can also adjust the size and roughness of the grain for different looks.
7: Save as a Preset
Once you are happy with your vintage edits, you can save your work as a preset.
- Go to the Presets panel.
- Click the plus (+) icon and choose Create Preset.
- Name your preset something like “Vintage Warm Fade”.
- Choose the settings you want to include. Usually, keep all boxes checked except for Crop or Tools unless you want those saved too.
- Save it in a new folder or an existing one.
Why Create Your Own Vintage Preset?
Creating your own presets allows you to develop a personal style. Here are a few reasons why it is better than downloading.
- You can learn editing skills.
- It is customized to your taste.
- You can improve and adjust anytime.
- You save money.
- It feels more rewarding.
Conclusion
Creating vintage Lightroom presets may sound technical at first, but with a little practice, it becomes a fun and creative process. By following the simple steps above, you can build your own preset that gives your photos a warm, old-time feeling. The best part is, once saved, you can apply your vintage look to hundreds of pictures in seconds.
You must not be afraid to experiment. Play around with different settings until you find a vintage style you love. Over time, you will develop your signature editing style that will make your photos stand out.
Frequently Asked Questions
Can we create presets on Lightroom mobile?
Yes, Lightroom mobile also allows you to create and save presets just like the desktop version.
Are vintage presets good for all kinds of photos?
They work best with portraits, nature shots, and lifestyle photos. But you can try them on anything.
Do I need a paid Lightroom account to create presets?
The basic version allows it, but some advanced tools may need a premium subscription.